Build shrimp filter yourself - Construction manual shrimp filter
Build your own shrimp filter - Internal filter KP MAX / Klaus Perner
I am a fan of homemade filters and therefore for years I am always looking for new ideas, filter media and cheap alternatives to "professional" solutions.
I like to keep up with the DIY gurus and work according to the KISS principle. Keep it strictly simple = Make it consistently simple:D.
I have 6 tanks (2x 24 liters, 3x 60 liters and 160 liters) and one of them, the big one, was run with a DIY external filter until yesterday. So what do you do when the weather is humble? One comes on stupid thoughts.
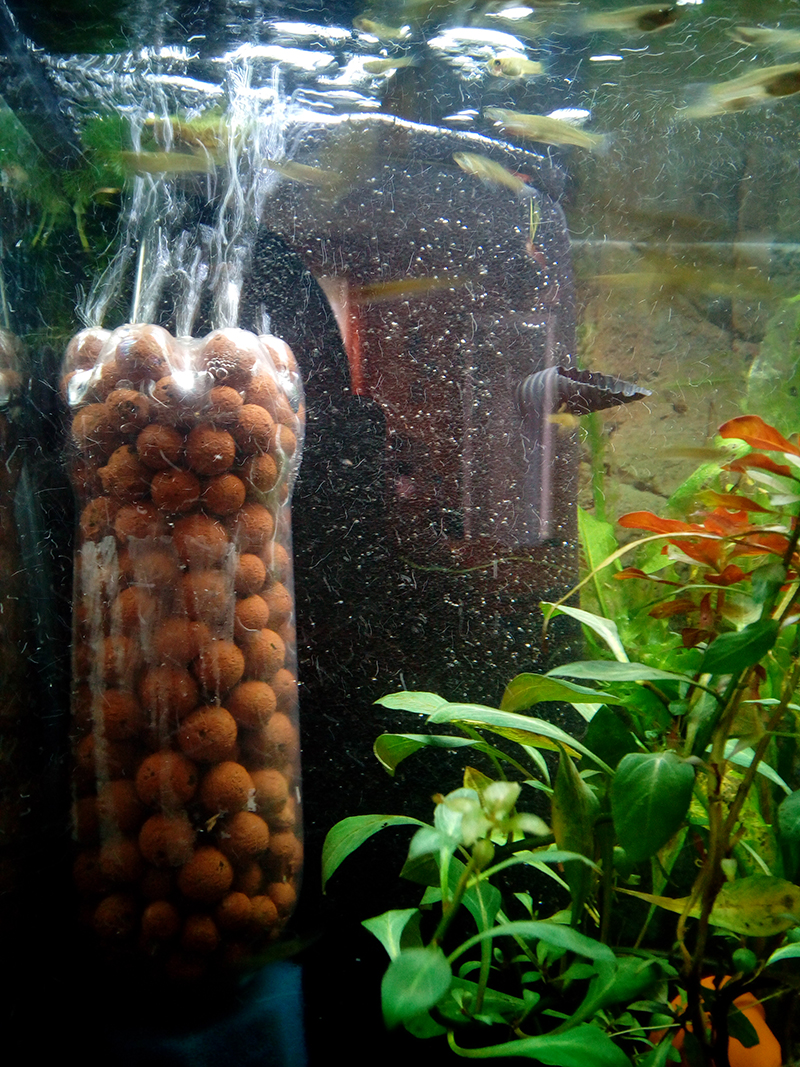
A new large internal filter had to come immediately, and of course it should be self-built again and have the best of all filters known to me. In addition, the surface for bacteria and Co. should be as large as possible and the basin should be flooded with oxygen.
Also the costs, lifetime and handling should be as effective as possible.
This morning we started right after the first coffee. First of all I looked for the materials:
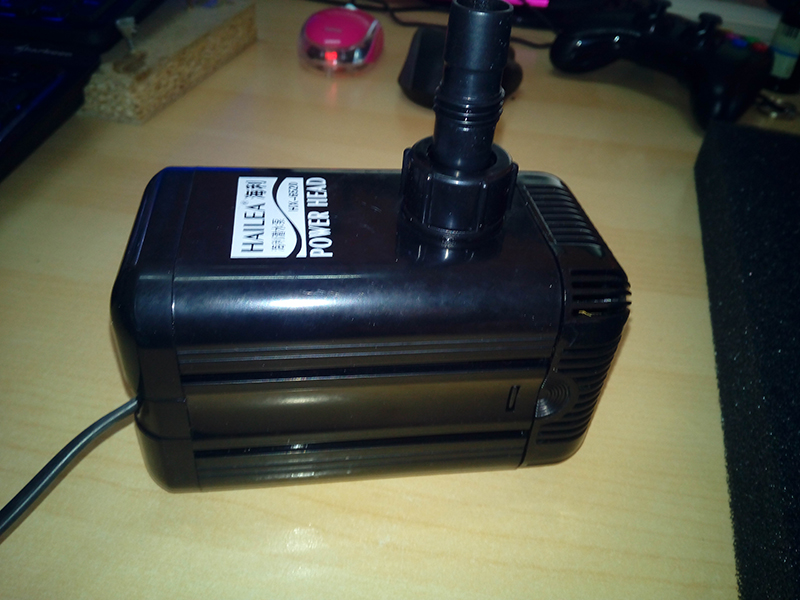
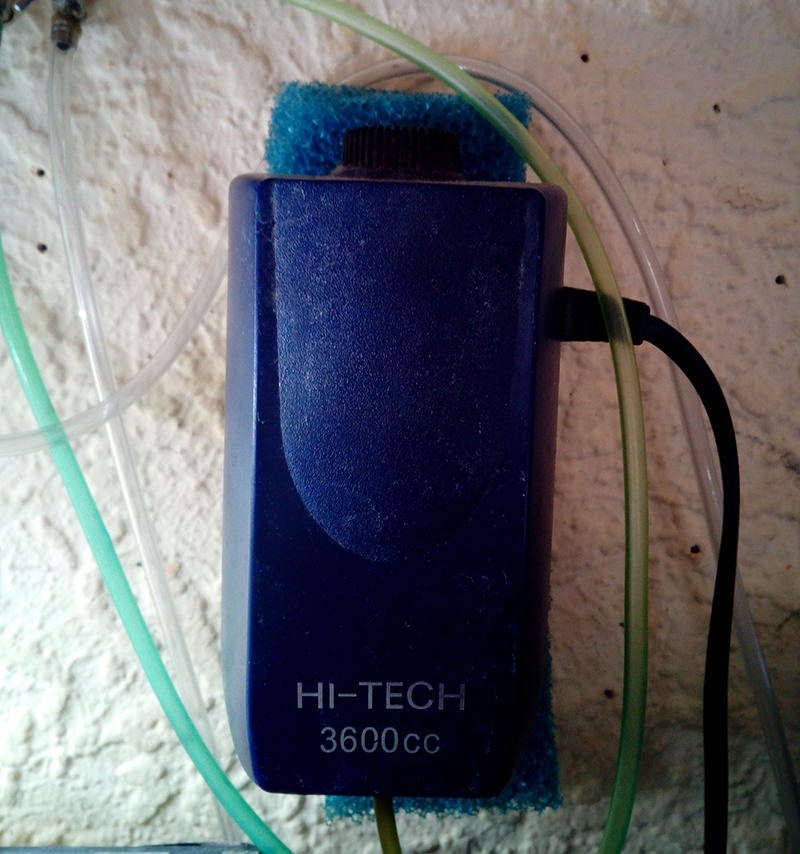
(1) of course a pump - I took a very strong one here, because I work with 45 or 60 ppi foam and therefore the water has to be pulled through narrow channels.
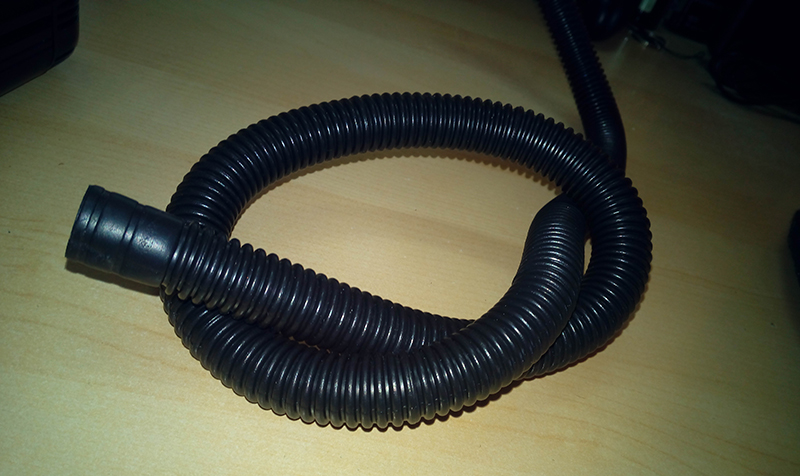
(2) a matching hose to carry the water outside
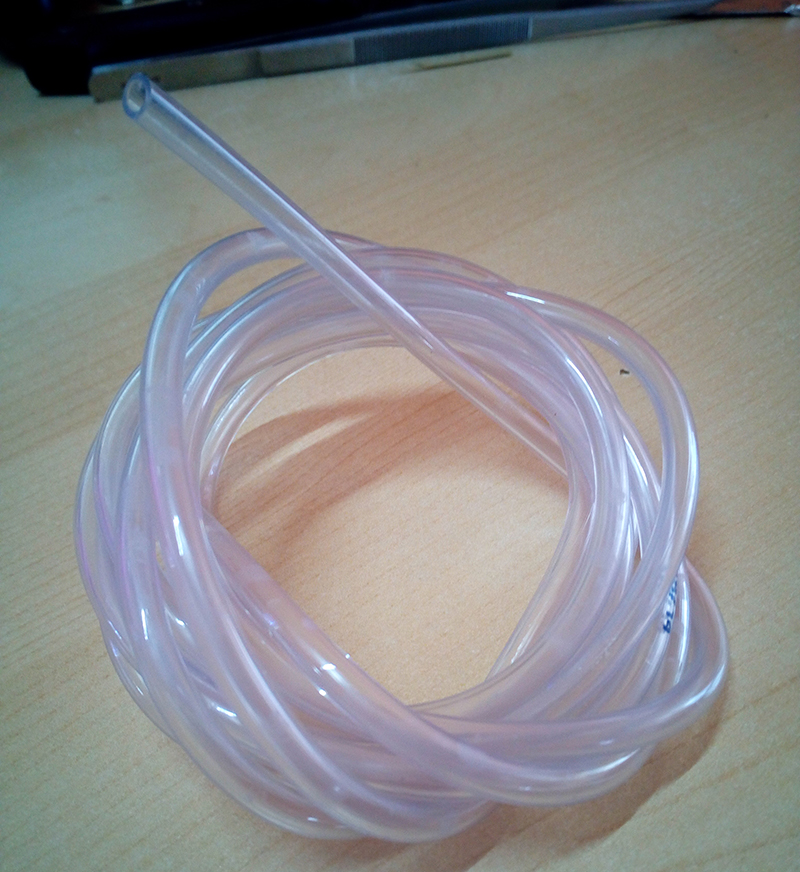
(3) an air hose to bring the oxygen into the filter
Foam cylinder: Depending on the desired size of the filter, you can also take ready-made filter cartridges or build yourself a cylinder, as I did for this filter.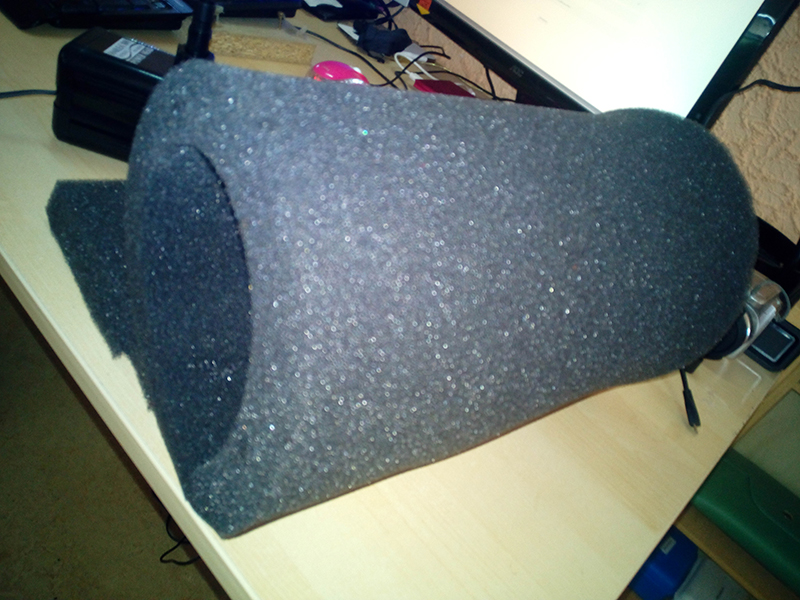
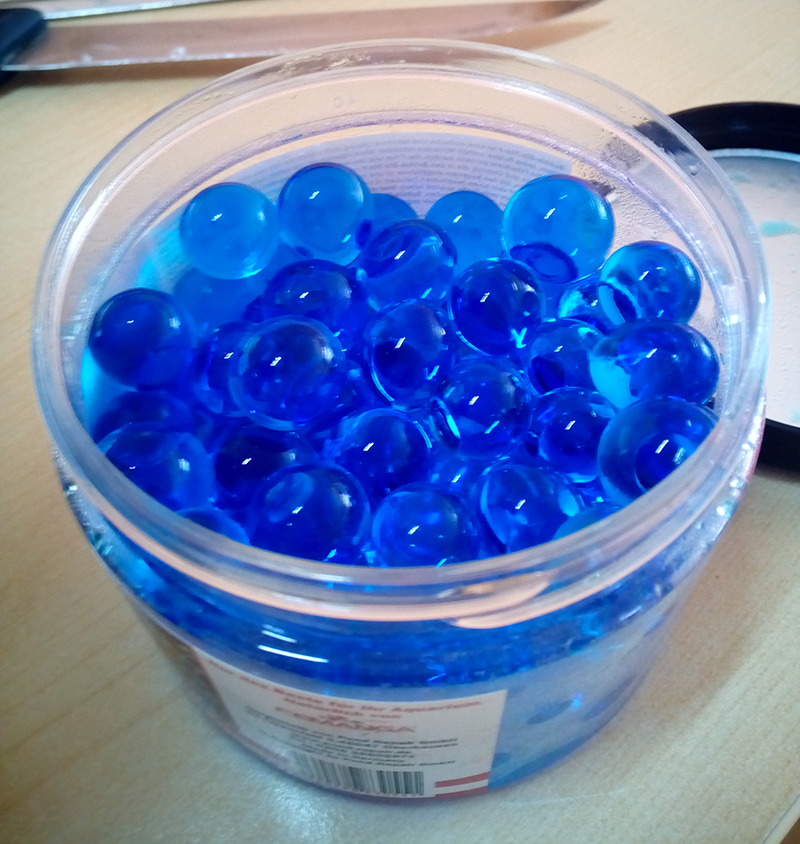
(5) Filter medium for the "inner space"
(6) Pump for oxygen supply
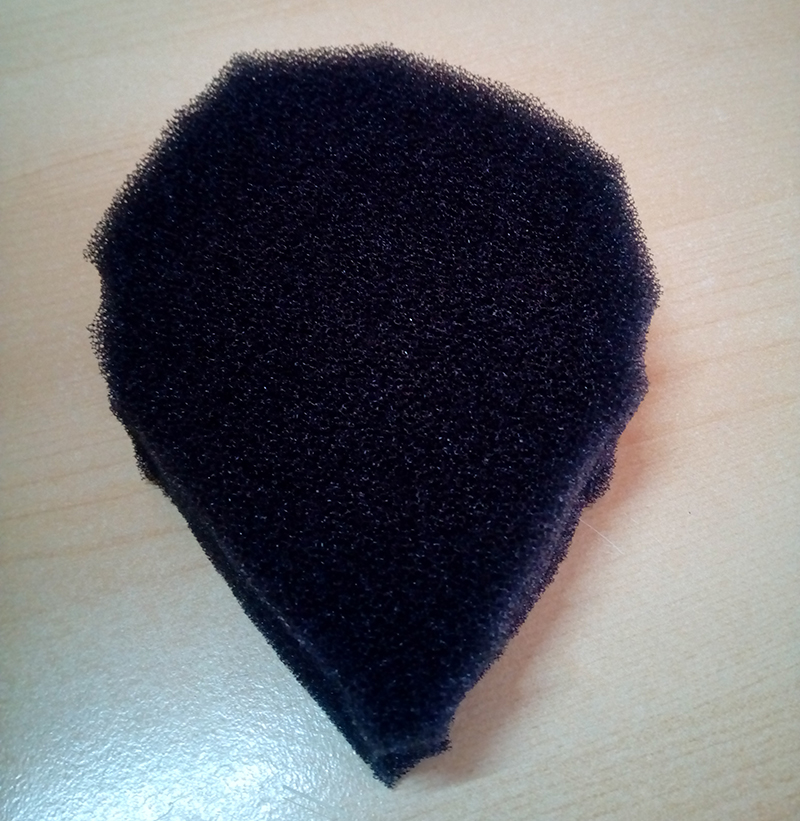
(7) suitable foam with 45 or 60 ppi, in the same thickness as the cylinder

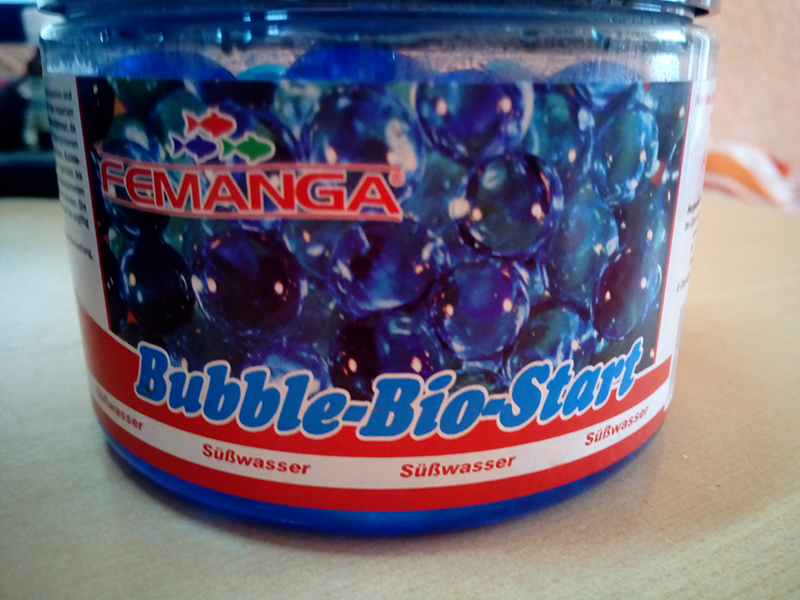
(8) optional: starter bacteria
You don't need more than a pair of scissors and a sharp knife.
Let's go!
1. Preparing the pump: Here you practically just attach the air hose directly in front of the pump's gyroscope. This causes the air to be shredded by the pump and flood the pool with tiny bubbles. The tiny bubbles also do not rise as quickly (see video).
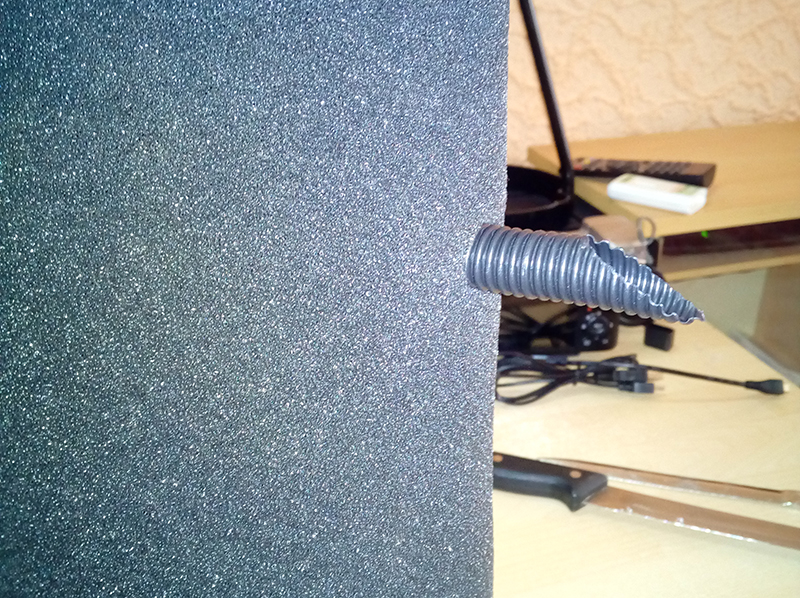
2. The sponge cylinder: For smaller filters, you can also use ready-made filter cartridges from pond construction. I have found a dealer who sells these in black and with desired bore. I use these cartridges in my small tanks. Because of the optional hole you can also decide for yourself if you want to use an airlift or - like me - put small pumps in the filter. But the principle remains the same. For the current filter, I formed and glued a cylinder with a diameter of 20 cm. Cable ties are very great aids here! I took aquarium silicone for gluing, but there are also special foam glue. As thickness for the sponge I chose 3 cm and a black material with 45ppi. Diameter and height of the cylinder is of course a matter of taste, although I like to choose the height a little larger than the aquarium height, so that the cylinder protrudes a little out of the water. This way you don't have to get the lid super tight and you also don't have to pay attention to the power cable and air hose!
3. You now cut out two "lids" for your cylinder from the remaining sponge to be able to close it later. I clamp and glue the bottom immediately!
4.Now you clean the cylinder and remove any glue residue. If everything is okay so far and relatively tearproof, it goes to the filling. If you use new filter material for filling, it should also be cleaned to get rid of residues from the production. Of course, it depends on the medium.
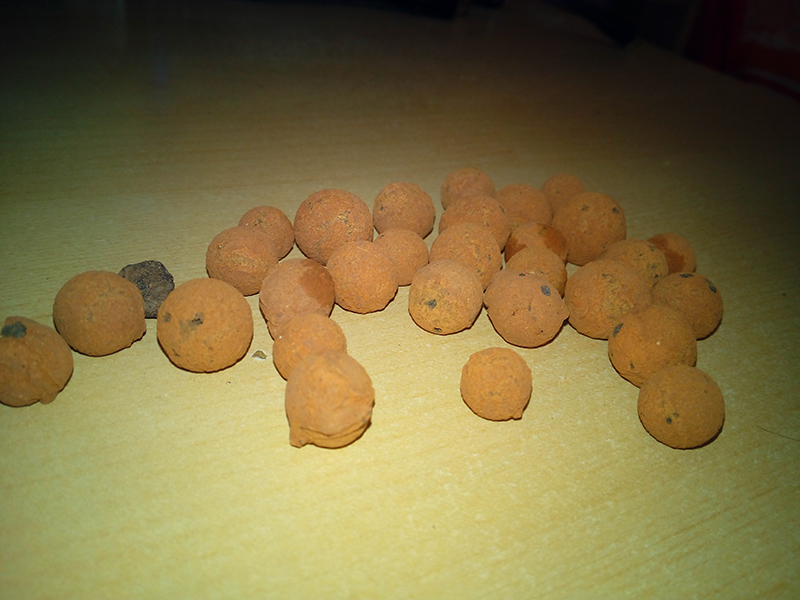
5.Here you can use everything possible. I mostly use Bio-Home, expanded clay, bio-balls or similar. But you can also just cut foam cubes and use them. The pump should be about in the middle or a little below. The lower the center of gravity, the better the part will stand in the tank in the end. But water should be sucked in from above and below, so the middle is advisable. The pump I use today is very heavy, so it almost doesn't matter where it is exactly. I position it lying down and with the inlet in the middle of the cylinder.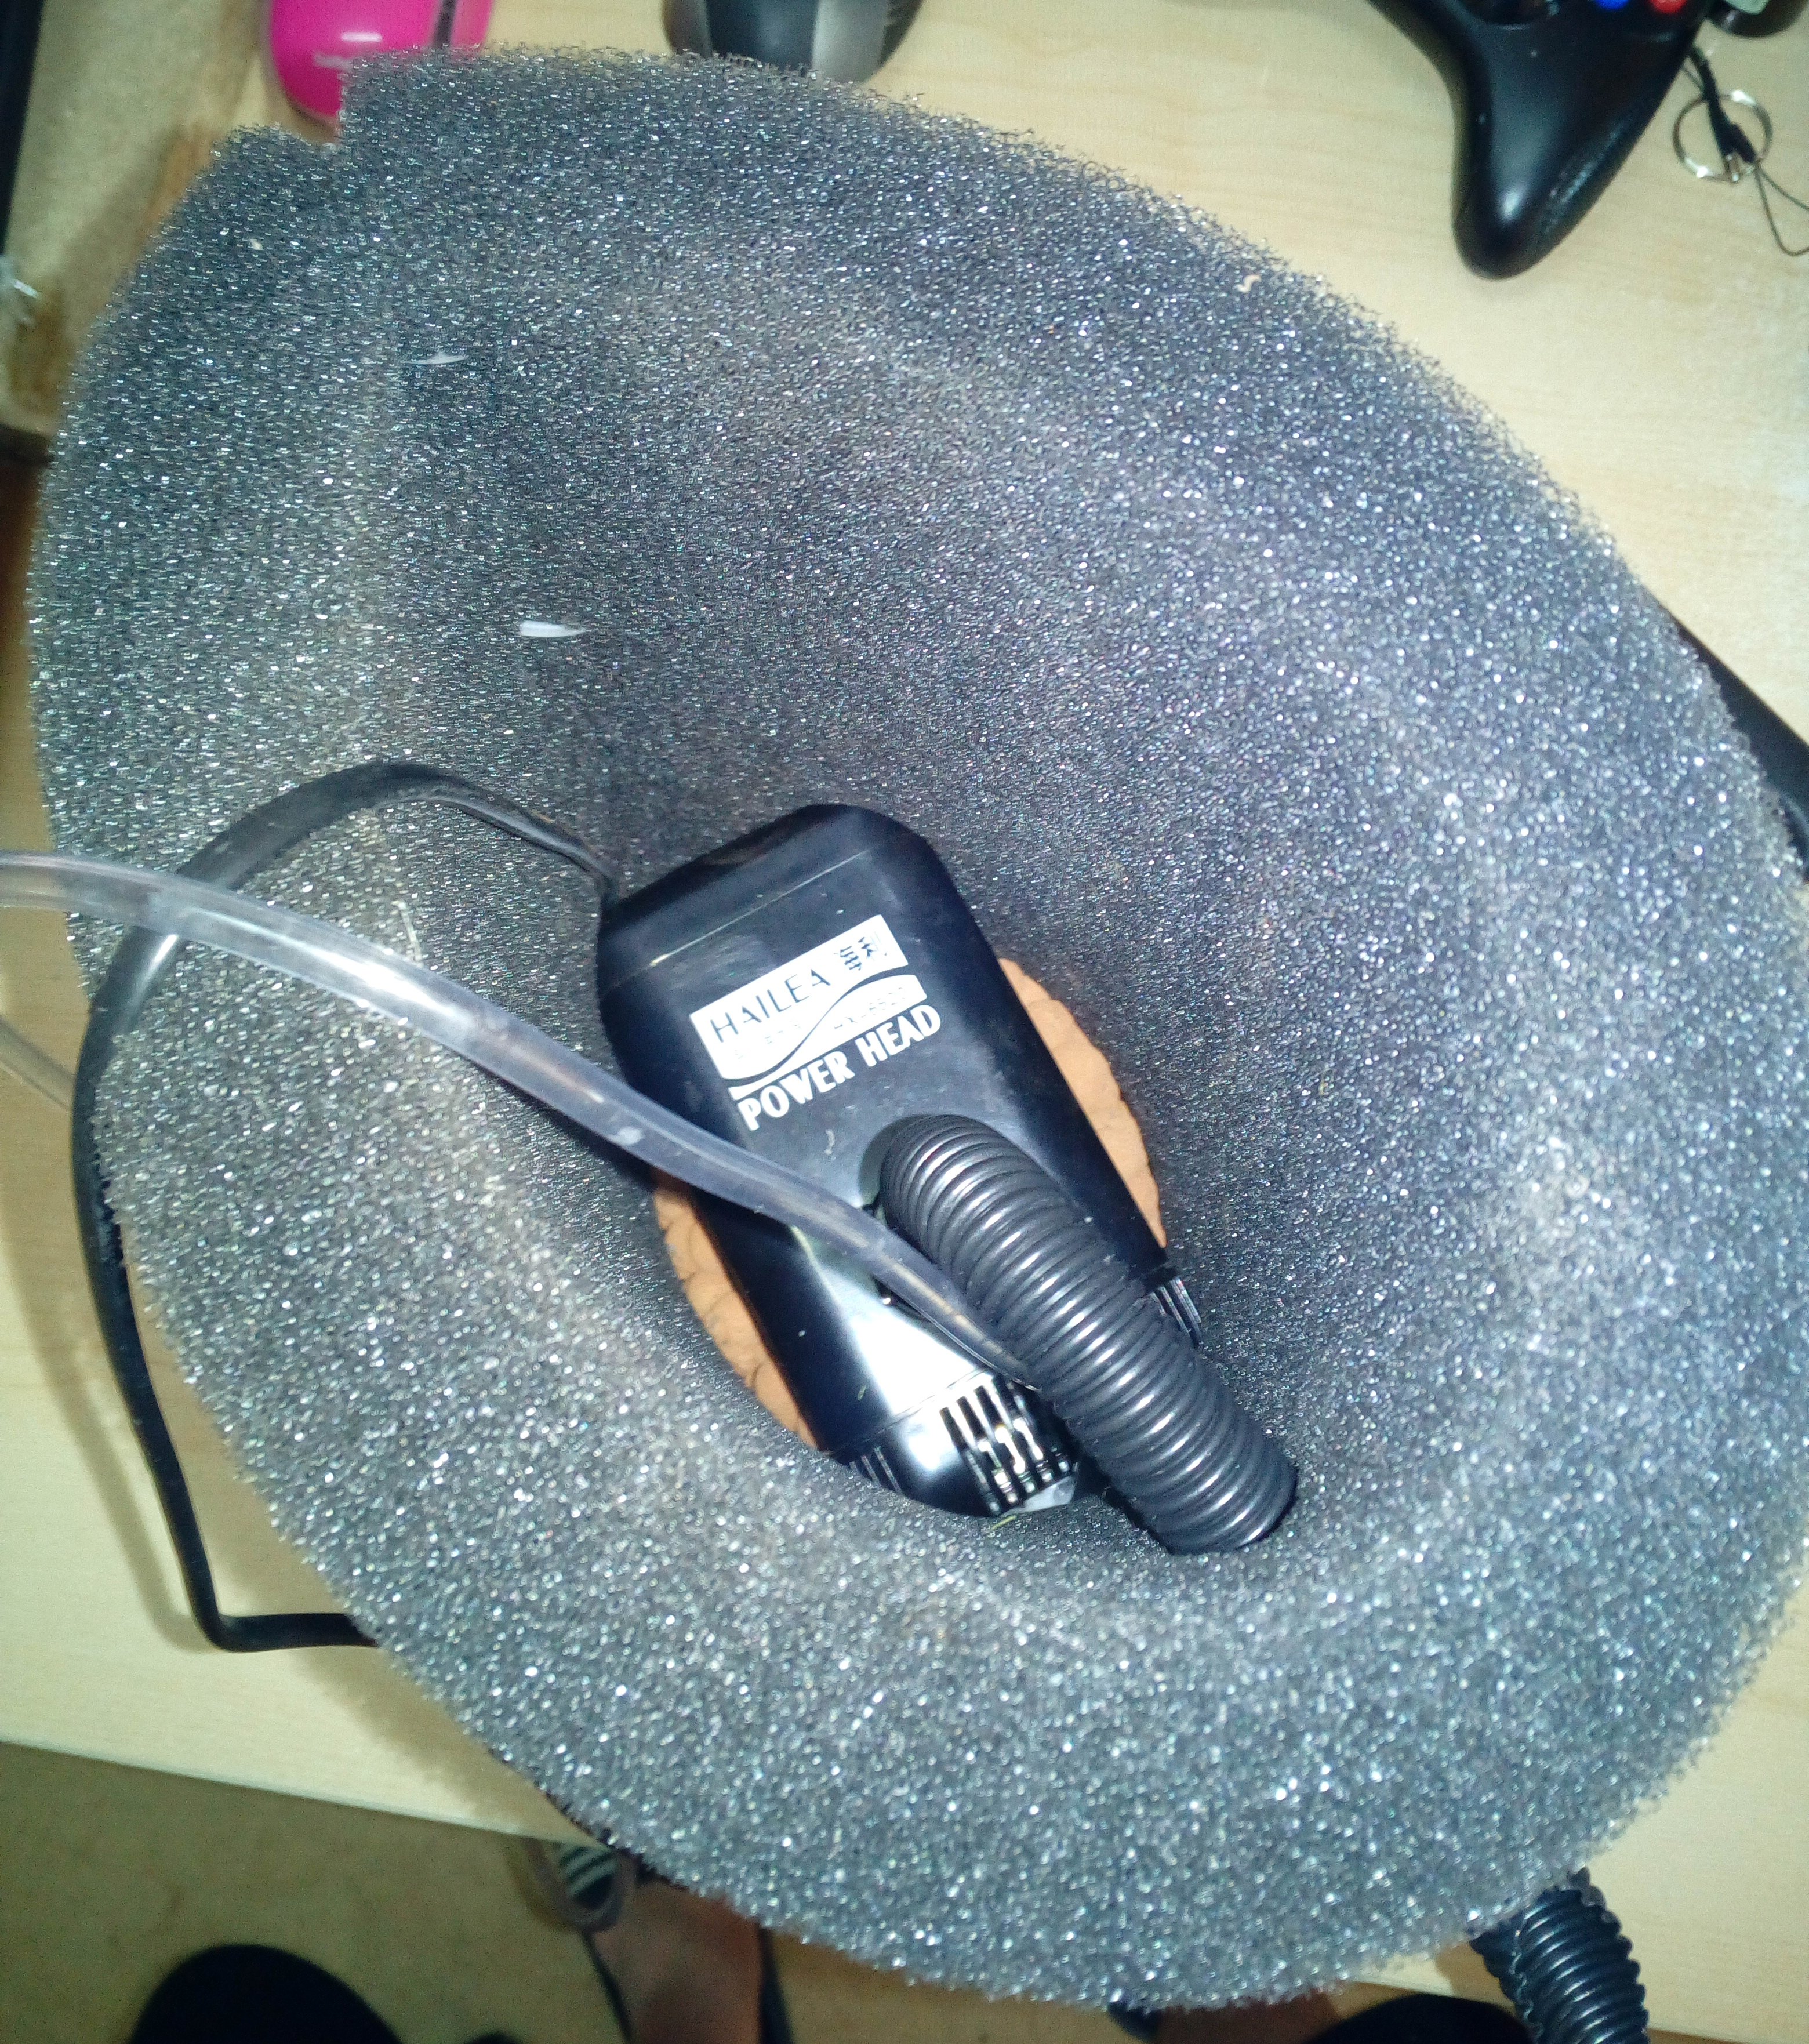
6. So I fill up about a third with the material and then put the pump in the cylinder. The power cable and the air hose are of course led to the outside.
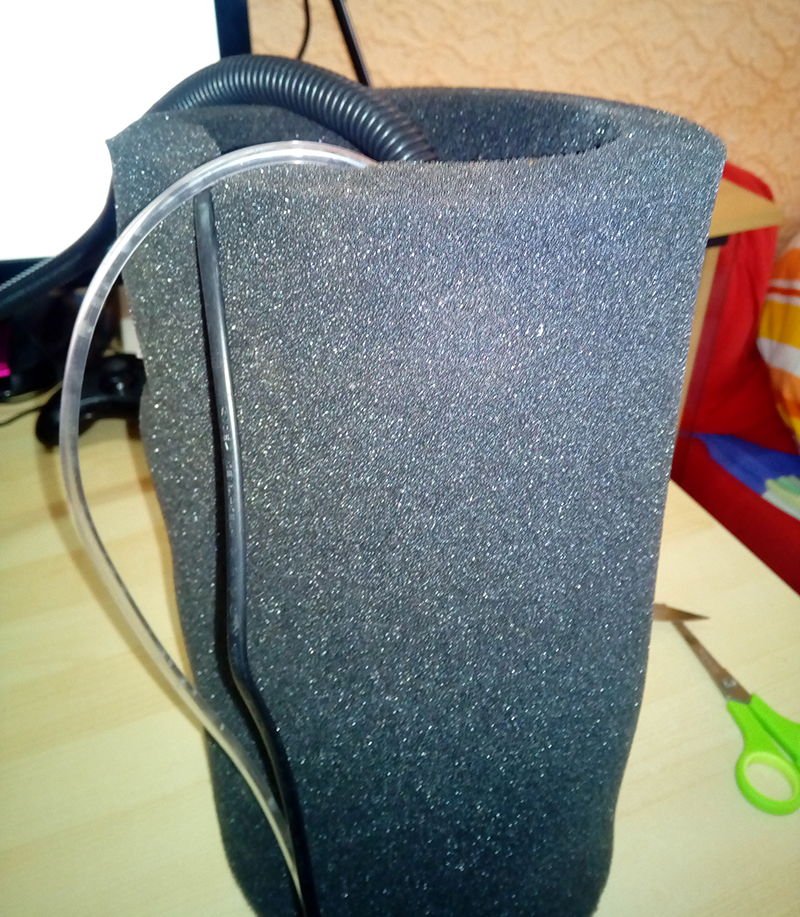
7.Now make a small cut in the upper third of the cylinder. Then connect the hose to the pump and lead it through the small cut to the outside.
8. Now you fill the remaining filter medium into the cylinder, leaving a little space for the lid. You can also add the starter bacteria at the same time, as I always do.
9. I now shake the cylinder so that everything is well distributed. Then I put the lid on top, which I cut out of the filter sponge. The filter is ready!
10. I now water the filter so that it sinks better. If you get the bottom and the lid very tight, you can operate the filter lying down.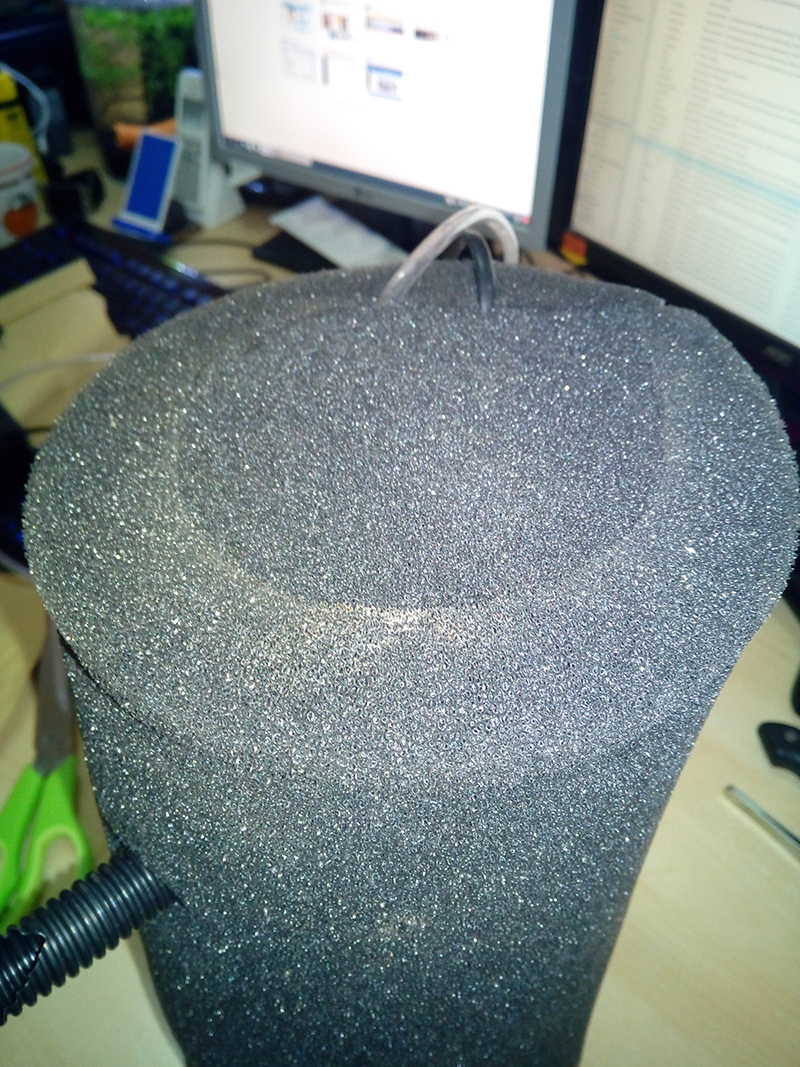
11. Now I turn on the pump and let the filter slowly slide into the pool in its place. You may have to weigh it down at first if, like me, you use a light floating filter media or have chosen a less heavy pump.
12. When the water is running, I turn on the air pump and adjust the feed so that lots of little bubbles come out of the outlet.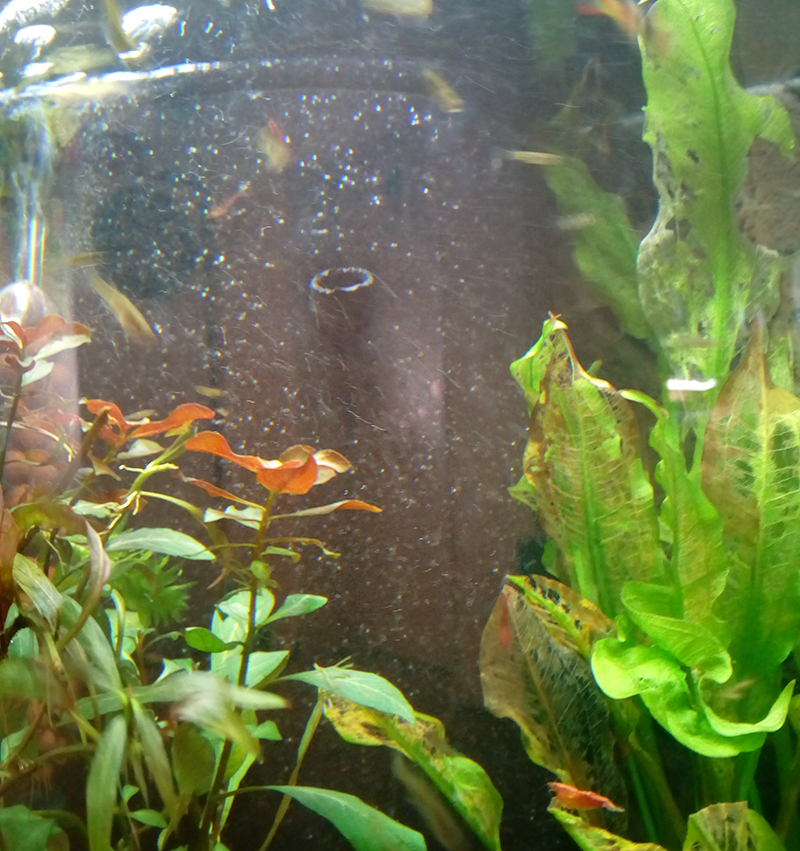
13.Done!
I didn't invent this kind of filter, and I didn't search the whole internet for such a filter. Surely this idea already exists. But it came to me in the evening when I was falling asleep, and I have been using this type of filter for about 2 years now with success and no problems. They have a long lifetime and are very easy to maintain.
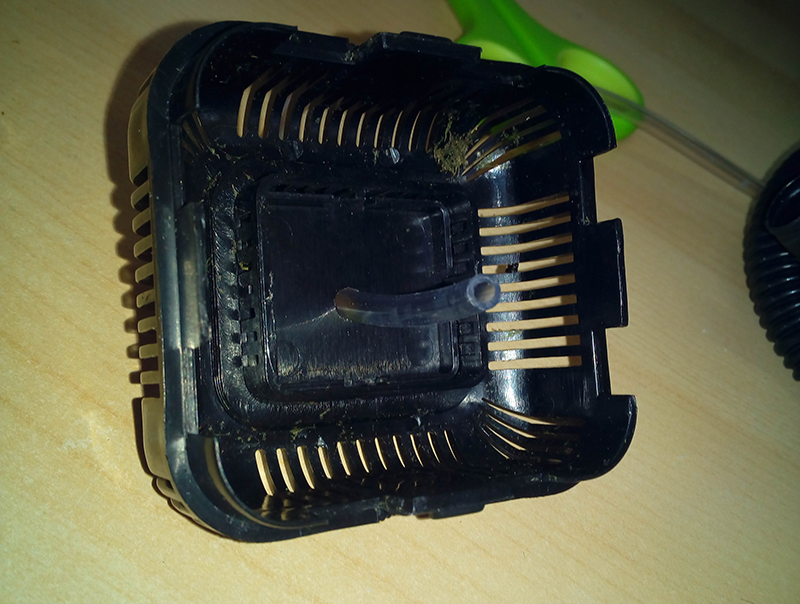
Here are a few pictures of my other filters in the "small" tanks.
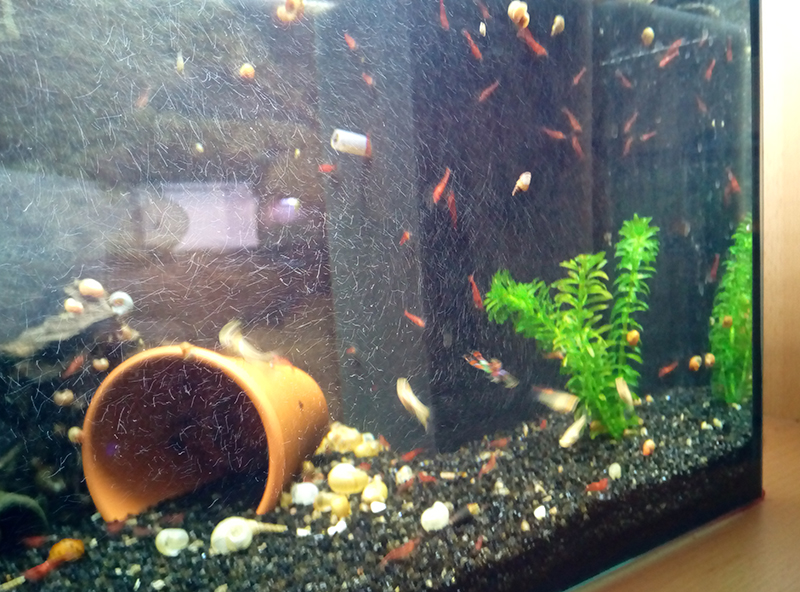
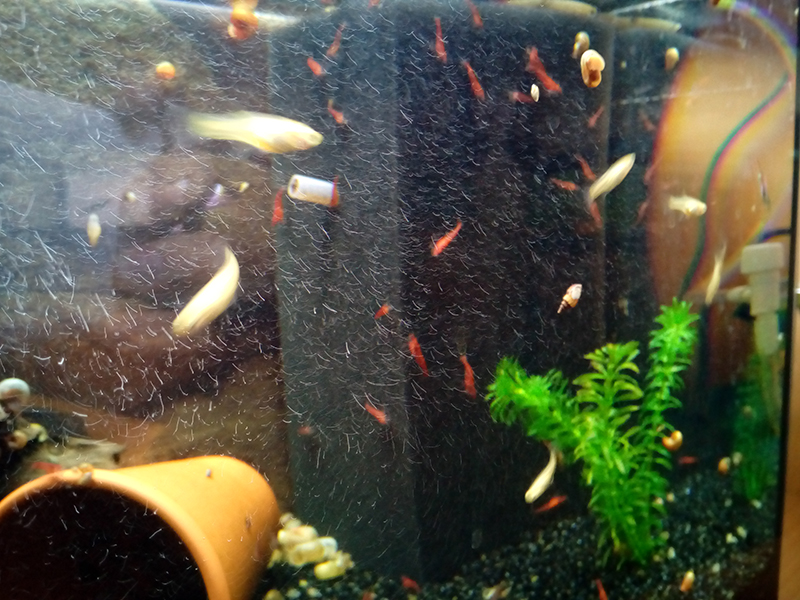
The large surface offers the animals a nice field to graze and the volume available for filtering or colonizing is enormous! The filters are quiet, and even the introduction of oxygen is barely audible, as even a small amount of air is enough to flood the tank with bubbles!
I have a lot of fun building such filters, and I hope I can infect some people with my desire.
Kind regards
Klaus Perner
Source of supply for the filter sponges and cartridges: Aquaristik Schneider
Source of supply for the Bio-Gel-Balls: Interaquaristik
Author: Klaus Perner - Ludwigshafen on the Rhine
I have/had 3 uncles who are involved in aquaristics. One of them was an enthusiastic tank and furniture builder for about 40 years and always maintained countless tanks. The others deal with the keeping and breeding of fish.Therefore I came early to my first tank and had over the years always one or two large aquariums in my apartment.After a break of about 10 years, I resumed my hobby in 2006, but this time I wanted to try something new and have decided for shrimp and crayfish. I started with a 160L tank with Red Fire shrimps and a few Guppies. At that time I discovered Garnelio and bought my first dwarf crayfish there. I was glad to have a dealer and expert for invertebrates in the next neighborhood. Today I have 5 tanks (160l + 4 x 56l) in which I keep shrimps, crayfish, a few fish and snails (on tap water). Since I generally like to tinker, I started early to build my own filters. I have tried several types of filters and media to find something that is cheap, reusable and effective. Of course, you can not reinvent the wheel, but it is still fun to see with what simple means, you can provide for animal-friendly water.
Toll !
Super Idee. Glűckwunsch !!!!
Vielen Dank
Hallo, es ist schön zu sehen das sie viel Spaß bei der Sache haben und viel Wissen sich angeeignet haben. Aber sehr dankbar bin ich dafür dass sie ihr Wissen auch teilen und dadurch andere Menschen für das Thema gewinnen können u d helfen. Gerade das Thema Filter ist mit eines der wichtigsten beim Aquarium. Vielen Dank und weiter so.