Buying shrimp - tips for acclimatization
Buying shrimp : tips on how to acclimate the new inhabitants of the aquarium
Your aquarium is already running, and surely you are now happy that life is finally moving in, but wait - here are a few things to consider beforehand! The acclimation of the new aquarium inhabitants into their new home is not difficult, but requires some care, so that as little stress as possible arises for the animals and shock skinning or even failures are avoided. Not all water is the same! Water values, loads, germ density, temperatures and so on vary from aquarium to aquarium, even in tanks that use the same water from the tap. For this reason, it is really important that the animals are gently acclimated to the new environment!
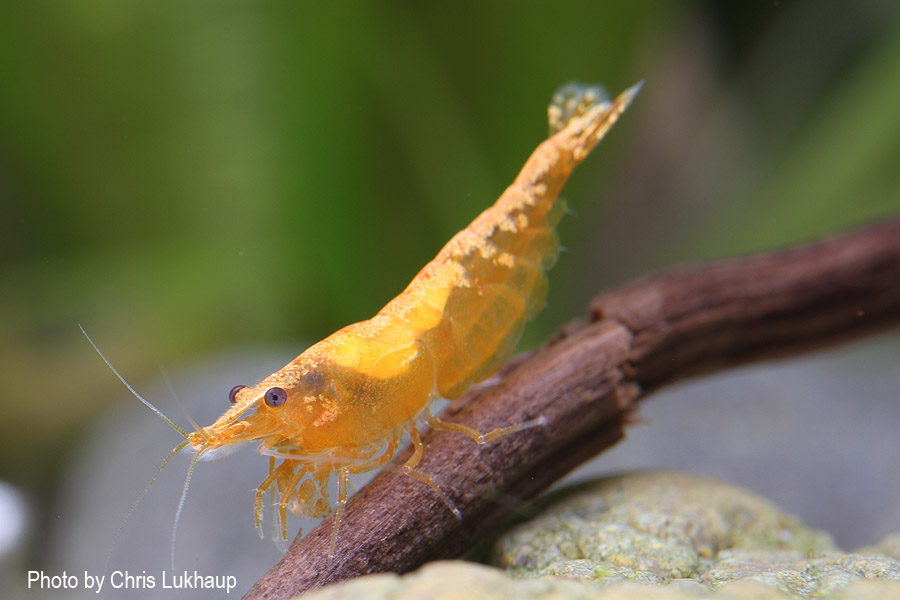
Orange Sakura shrimp - Neocaridina davidi is very robust as far as shipping is concerned.
If new plants were introduced less than 4 weeks ago, which are not invitro plants grown on nutrient gel in the laboratory, or do not come from an aquarium that has already been running for a longer period of time, we recommend performing a larger partial water change of 60-80% beforehand. In this case, it is sufficient to simply siphon off water and replace it with fresh water. The reason for this is that bunch, pot or portion plants are often already treated with special fertilizers and pesticides in the plant nurseries so that they grow up as quickly and healthy as possible and also so that no unwanted co-inhabitants are imported. Any residues that may be present can harm invertebrates, and therefore a major water change is highly recommended simply for safety's sake. This will remove any residue that may still be present from the aquarium. Water conditioners, which bind pollutants, can be very useful here - but do not replace the water change! Another advantage is that once again the germ density is lowered, which is only beneficial to the animals, as they may also be more or less weakened by the transport. The aquarium plants from our store are previously watered and pose no danger to your pets.
Now let's move on to the acclimation of the new inhabitants after the shrimp purchase ...
1. Put the transport bag or shipping container into a clean bucket
The bucket or an appropriate plastic tub should of course not release anything into the water added later or harm the invertebrates. Therefore, please do not use containers that have already come into contact with cleaning agents, chemicals or other things that are harmful to your invertebrates! In case of cold outside temperatures, please leave the transport containers unopened in the bucket for the time being, so that they come up to temperature. If the animals have gone into cold torpor, they will appear lifeless - as if dead, but in such a case they are not. Please remain calm and let the shrimp & co. slowly come to room temperature so that they can recover from cold torpor. Depending on how long it takes, the transport bag can already be opened so that fresh oxygen can get in.
2. Open the transport bag or container
Now the transport bags or containers can be opened and the animals carefully placed into the buckets together with the transport water. Please use an extra bucket for each transport container! This is important, because the animals can come from different aquariums with different water values.
3. Getting used to the new shrimp aquarium
If there is no acclimatization kit for your shrimp & co. (see in the text below), you can resort to a small clean cup or similar. If possible, the transport water should not fill the bucket more than halfway - if necessary, simply pour off a little carefully. Now fill the prepared cup with water from the aquarium into which the new inhabitants are to move. Every few minutes, add a small sip of it to the bucket. Repeat until the amount of water in the bucket has at least doubled. Allow between 2 and 4 hours for this. The slower the changeover is done, the smoother it will go. You can also take some water out of the bucket at any time and dispose of it to make more room for water from the future shrimp aquarium again.
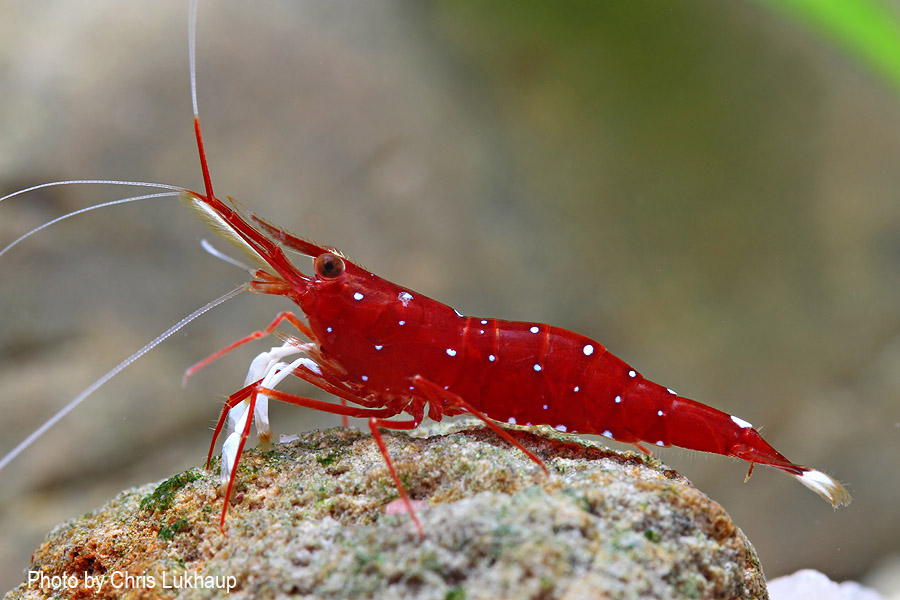 Shipping Sulawesi shrimp should be avoided in the winter, as Sulawesi shrimp are very sensitive to cold, we do not offer shipping for Sulawesi shrimp over the winter months for the welfare of the animals.
4. Transferring the new inhabitants
Now you can move the animals carefully with a suitable landing net into their new domicile. Please never add the water in the bucket to the aquarium, but simply dispose of it! It is recommended to place the new arrivals in a quiet corner of the aquarium, so that they can quickly retreat, because the environment is still unfamiliar to them. It also doesn't hurt to turn off the lights for the next 1-2 hours - this will reduce further stress for the new arrivals. It is also best to place purchased aquarium snails on their foot or place them with the opening facing downwards. Some snail species, such as racing snails, have difficulty turning around on their own, especially at the beginning.
Observation of the purchased shrimps, crayfish, snails & Co.
In the next hours and days the animals should be observed well, but please without disturbing them directly. It is not uncommon for them to appear somewhat pale in the transport containers and also initially in the aquarium. They will also tend to hide. However, they should not show any abnormalities such as obvious discomfort or unusual movements like shooting back and forth or sinking motionless to the ground, etc. There are many reasons for unusual behavior, and it is beyond the scope of this article to go into all the possibilities. But what you can do in such cases in any case: Check the water values and temperature and see if they are suitable for your animals. Afterwards, it can't hurt to do one or more larger water changes slowly and use a water conditioner. Please also ensure good oxygen saturation by adjusting the filter outlet so that the water surface is well agitated over as large an area as possible, or connect an aerator pump with an outflow stone. The animals should only be fed the day after they are introduced - and it is better to feed them a little less than too much. In the new environment it is possible that they do not eat anything or not much at first. Snails and aquarium shells can take a long time to open and move. However, if nothing happens after a few days, then smell them carefully - you will then quickly notice whether they are still alive or not.
More tips
Acclimatization kit
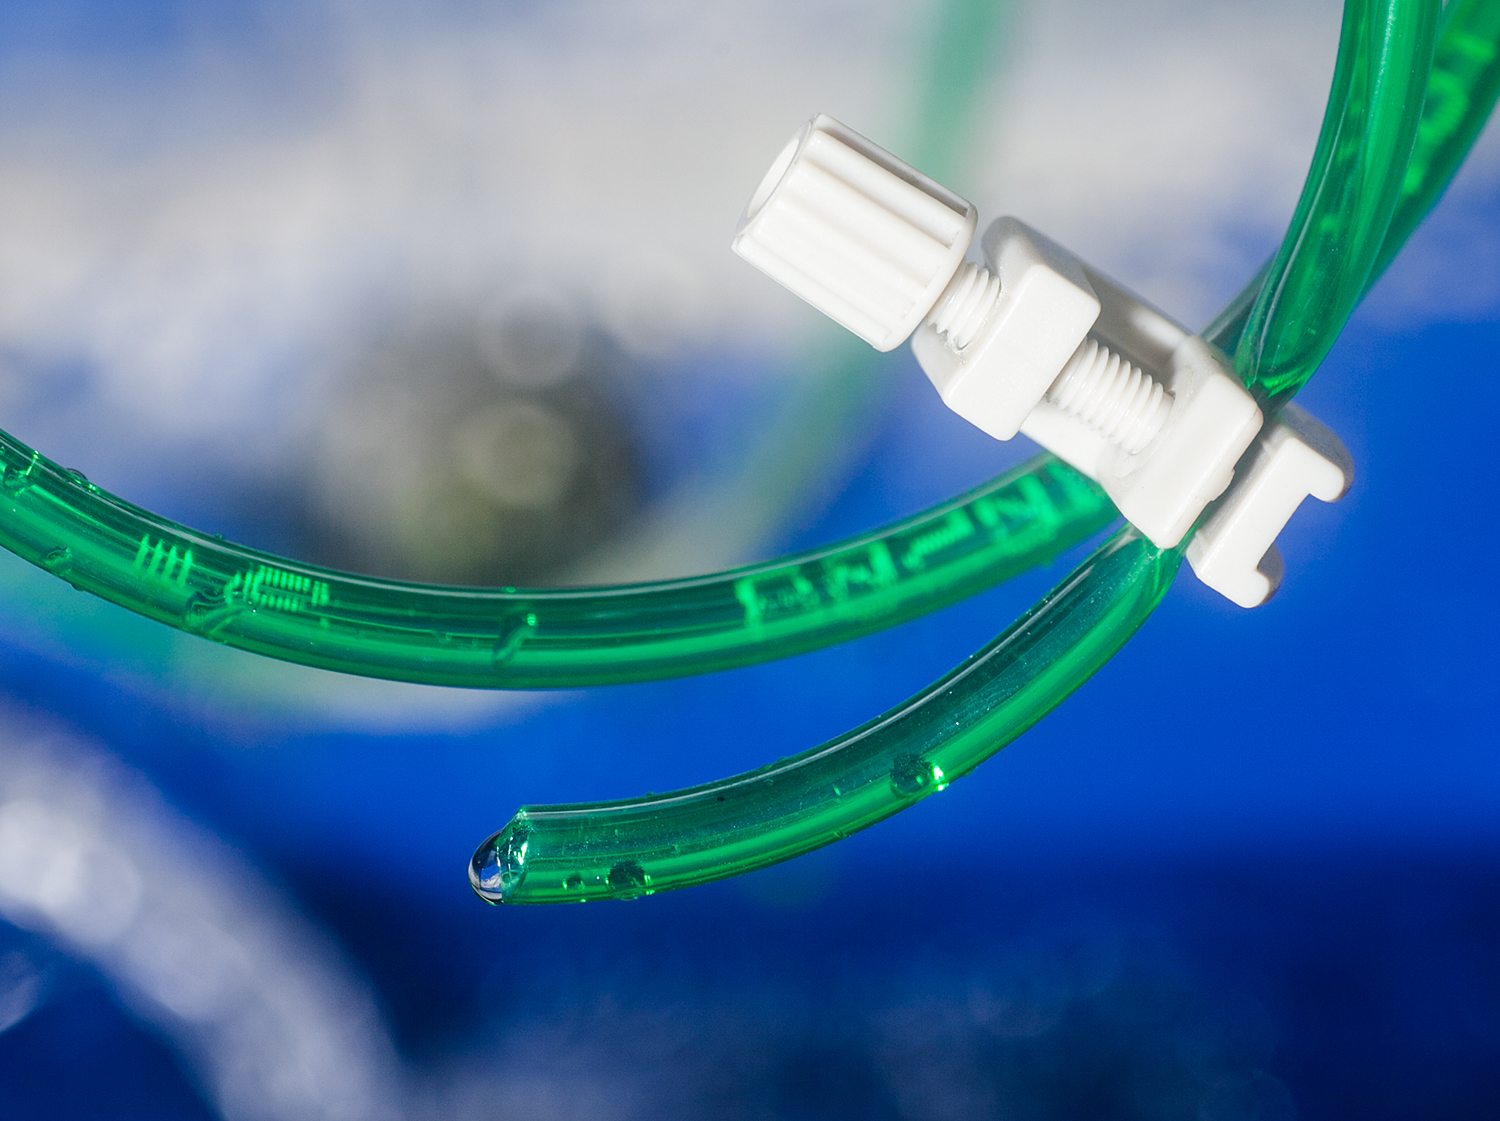
To ensure a stress-free move to your new home for the animals, an acclimation set is of great advantage. The set provides the animals with a slow, stress-free and natural adjustment of the transport water to the aquarium water. Once the acclimation set is adjusted, the acclimation period can be completed without the hassle of refilling & spilling water.
Setup: Connect all four parts together. One end of the hose is attached to the aquarium with a suction cup. At the other end with the stopcock, the aquarium water is carefully sucked in with the mouth - please make sure the stopcock is open - and then attached to the bucket with the second suction cup. Now the stopcock can be adjusted so that the water slowly drips into the bucket.
Our tests have shown that the animals get used to the new environment very well and failures can be avoided. Also the stress for the animals is significantly reduced. You can also order the acclimatization set directly in our store.
 Acclimatization set you will find here in our store
Acclimatize aquarium crayfish
If aquarium crayfish are delivered to you with little or no water, please allow as much time as possible for acclimation, because the gills of the crayfish must first be moistened, otherwise they could drown if the water level rises too quickly. This also applies if a crayfish escapes! Here a flat, covered half-full water bowl would be recommended, which stands slightly inclined. This way the crayfish can decide for itself up to which water level it will go, and then move to this corner.
Subsequent insertion of new plants
If you want to insert aquarium plants later, which are not invitro plants as already written above or come from a running aquarium, please water them extensively before! For this purpose you can use a suitable container such as a bucket, a bowl, a small aquarium or similar. Put the plants in it, which have been thoroughly freed from all pots, rock wool, lead bands and so on, and fill up with tap or aquarium water. Using a water conditioner or filtering through activated carbon, zeolite or activated carbon/zeolite mixture with a small filter is not wrong, but it also works without. The tank is placed brightly - but please not with direct sunlight - and not too cold. The water in the container is changed completely every day and this for about 7 days, so that the also above mentioned fertilizer residues and pesticides wash out. Should there still be problems with the stocking after the insertion, please remove the plants again, make a large water change in the aquarium and water the plants a few days longer.
As in all areas, the slower, more carefully and thoroughly you carry out something and possess the highest virtue of an aquarist - namely patience - the smoother everything will go, and the acclimation will also be much more pleasant for the creatures living under your care.
By the way, this text is also included with each of our deliveries when animals are shipped!